LandscapingThis is the first time we have bought a house without having landscaping taken care of by the builder and included in the purchase price of the house, although we did do extensive landscaping on a house we had in Houston. Here are some things to think about when starting to plan your landscape: Grass lawns are not a requirement in HSV. If you want a low maintenance landscape, you can get the lot covered with mulch and rock for a few thousand dollars, including a few plants. Not having grass does not mean NO maintenance. Weeds come up in gravel, even if it has plastic weed barrier under it. Dirt and weed seeds accumulate above the barrier and the weeds come that way and through holes which may develop in the barrier. Mowing grass is actually the easy part of having a lawn. Edging is the time consuming part. Many people hire lawn services to take care of their yards, even if they don't have grass. Such lawn care includes blowing leaves into piles and removing them, pruning shrubs and trees, spraying weeds, etc.
Do-It-Yourself LandscapingYou can buy plants and put them in yourself and save a lot of money. But before you buy the plants, you should try digging a hole first. The soil in most places in HSV is not made for planting. We bought a couple of Bradford Pear trees before talking to a landscaper and tried planting them. We could not even get a shovel into the ground. The "topsoil" on our lot is made up of rocks, tree roots, and smaller rocks. (When they clear a lot of trees, they don't take the roots out too!) After we bought a pick and could not get IT into the ground, we eventually gave up and left the trees for the landscaper to plant using a small backhoe. An alternative to doing it all yourself is to hire someone to do the heavy work while you do the design and buy the plants. A neighbor who did his own yard bought all the plants and hired some young men from Teen Challenge to dig the holes for them. He didn't want grass, so he did not have the trouble and expense of hauling in top soil. Instead of buying truck loads of hardwood mulch, he raked up pine straw which is plentiful in this area. Another neighbor, who was a professional landscaper himself, hauled in at least a couple of dozen truckloads of compost that the city of Hot Springs provides to the public for free. His yard is a showplace. If you have a large and/or sloping lot and/or want grass, the cost goes up quickly when you add retaining walls, flagstone paths and patios, sprinkler systems, and of course the more plants and larger plants and trees you get. We have heard of people spending over $200,000 on landscaping, but of course that is extreme and rare. More common is something in the $5,000 to $25,000 range.
Choosing A LandscaperWhen we chose a builder for our house, I felt pretty confident. We got bids and checked the builders' past work. We pretty much knew just what we were getting for the money and the quality to expect. We tried going through the same procedure with landscapers. We talked to about a half-dozen different ones, drove around and looked at their work, and got designs and bids from them. In the end, our selection method was about as scientific as sticking pins in the yellow pages. We had to pick the plan we liked the most and hope for the best. The problem is that unlike building a house, there are few or no standards for landscapers, so bids are almost completely meaningless for comparison purposes. You may get identical bids for similar looking designs, but end up with different looking landscape jobs of vastly different quality. The only way different bids will be comparable is if you specify the same plan and the size and exact variety of every plant and boulder. Good luck on that. |
Before
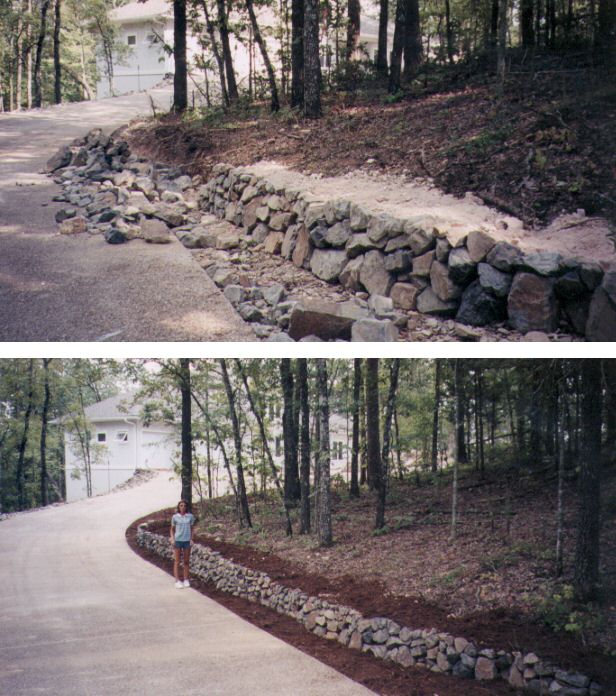 After
After
|
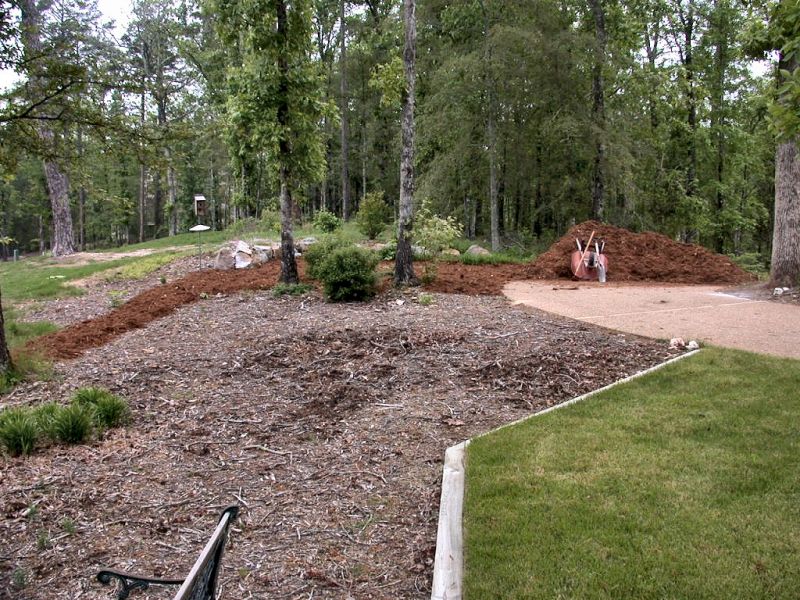
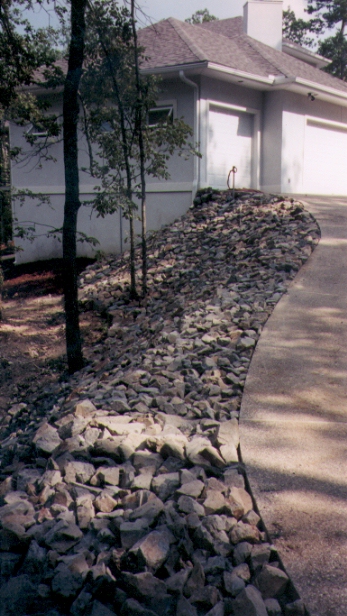
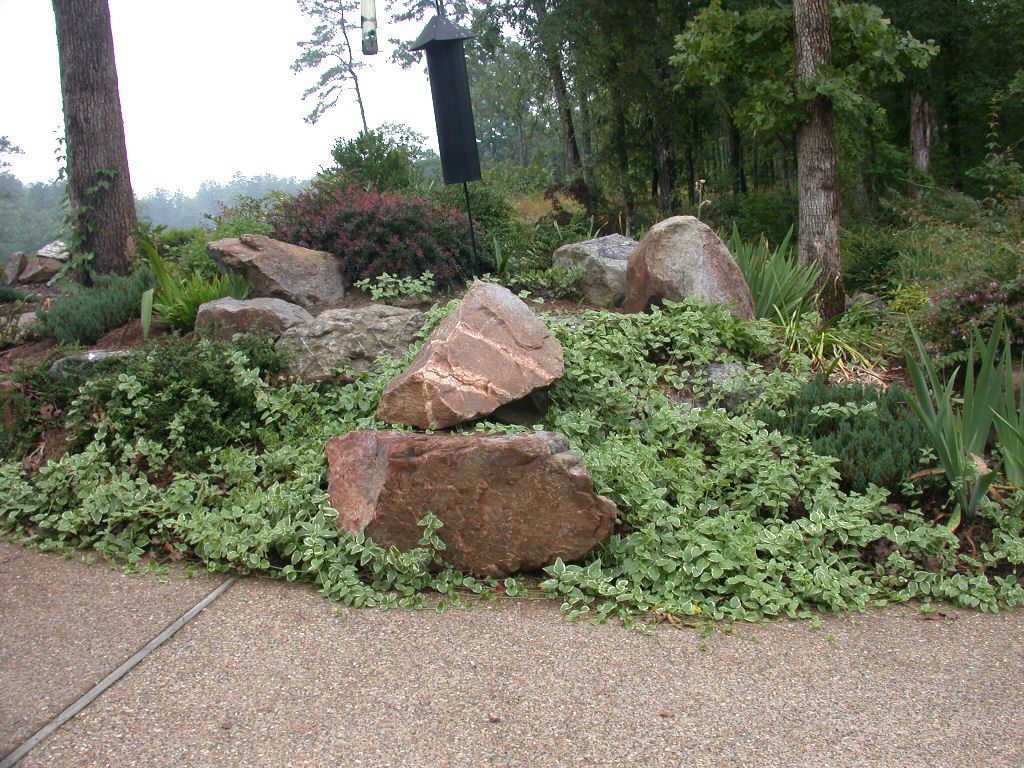
The low bid we got was based on a list of materials -- so much rock, so much top soil, so many plants, but no formal landscape plan or drawing. The company we went with gave us a detailed landscape drawing and they did quite a bit more rock work than the cheaper company had planned, taking a couple of days to build a small retaining wall down our driveway for one, and creating a large, mounded rock garden for another. |
Before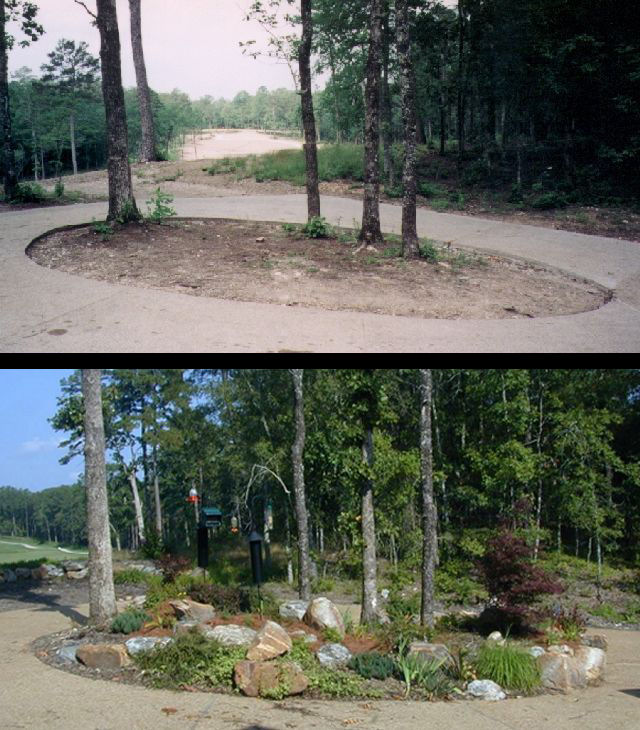 After
After
|
| Before | After |
|
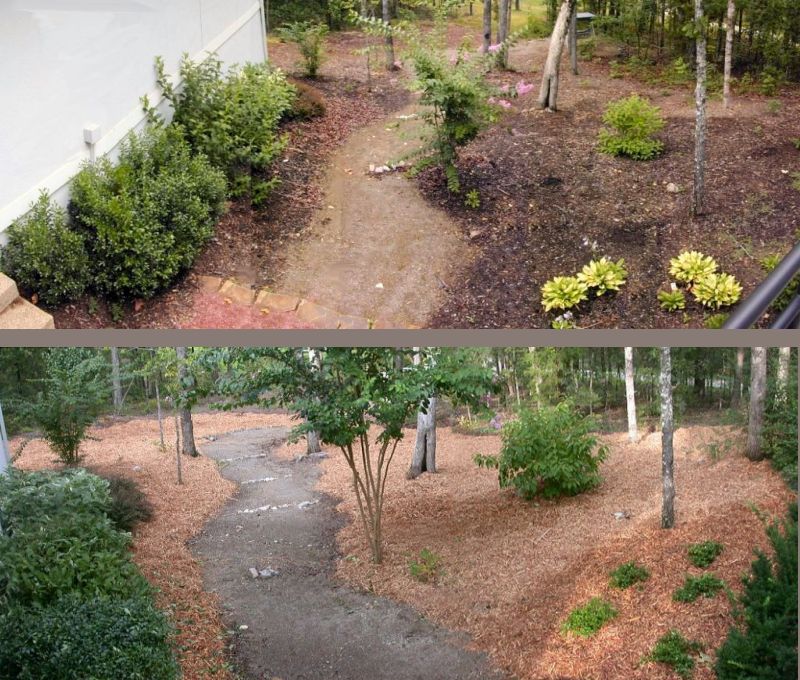
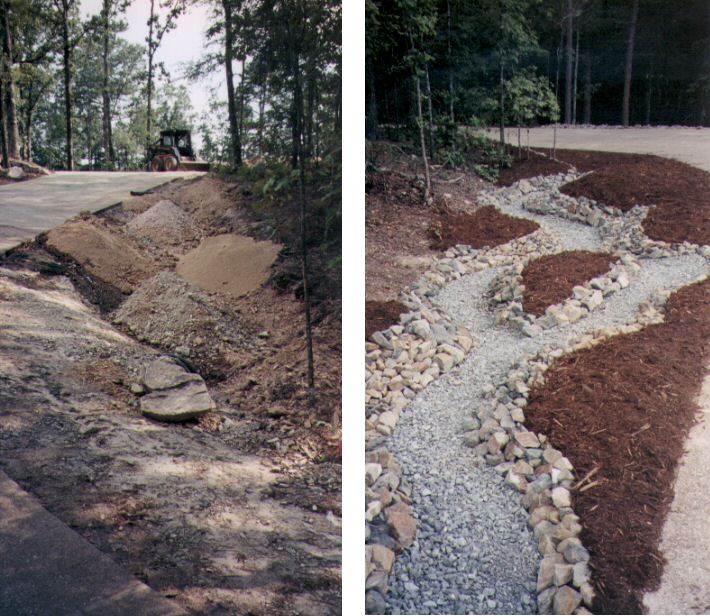
Another area the landscape designer talked about fixing up with rocks and which we could not picture was a drainage ditch on the other side of the driveway. He mounded up dirt on the sides and center of the ditch to make it look like a little creek. Then because not much water ever actually runs through that ditch, he covered the bottom of the "creek" with blue granite to give the impression of water: |
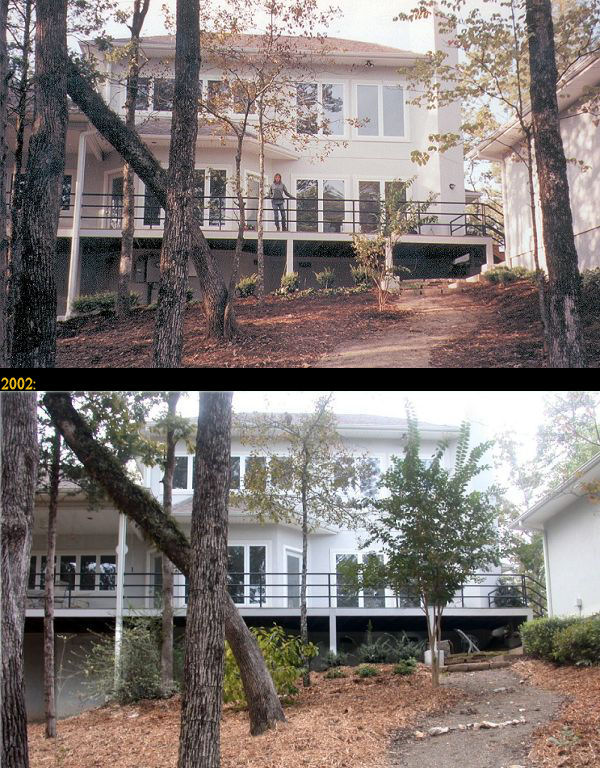
In front of the deck, Myron mounded up dirt around bolders to block the view under the deck from the front of the house:
Before...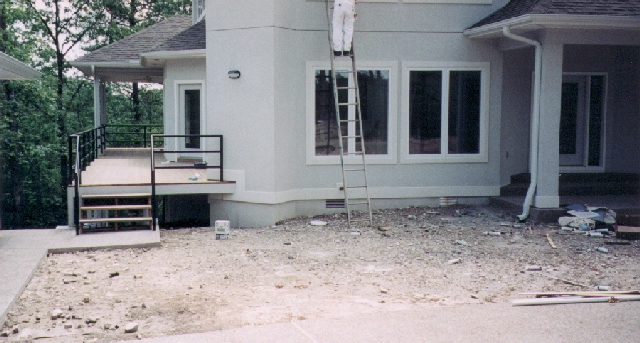
|
1999: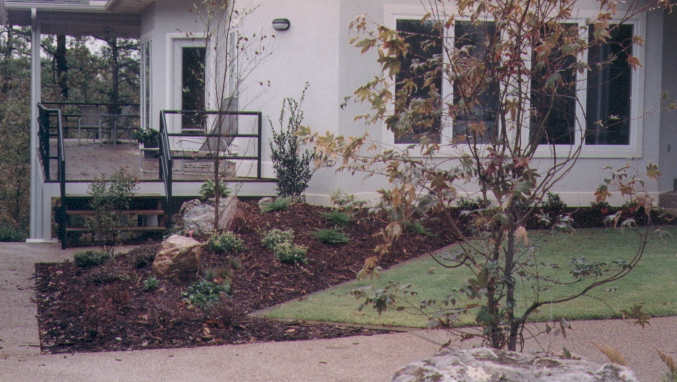
|
2001: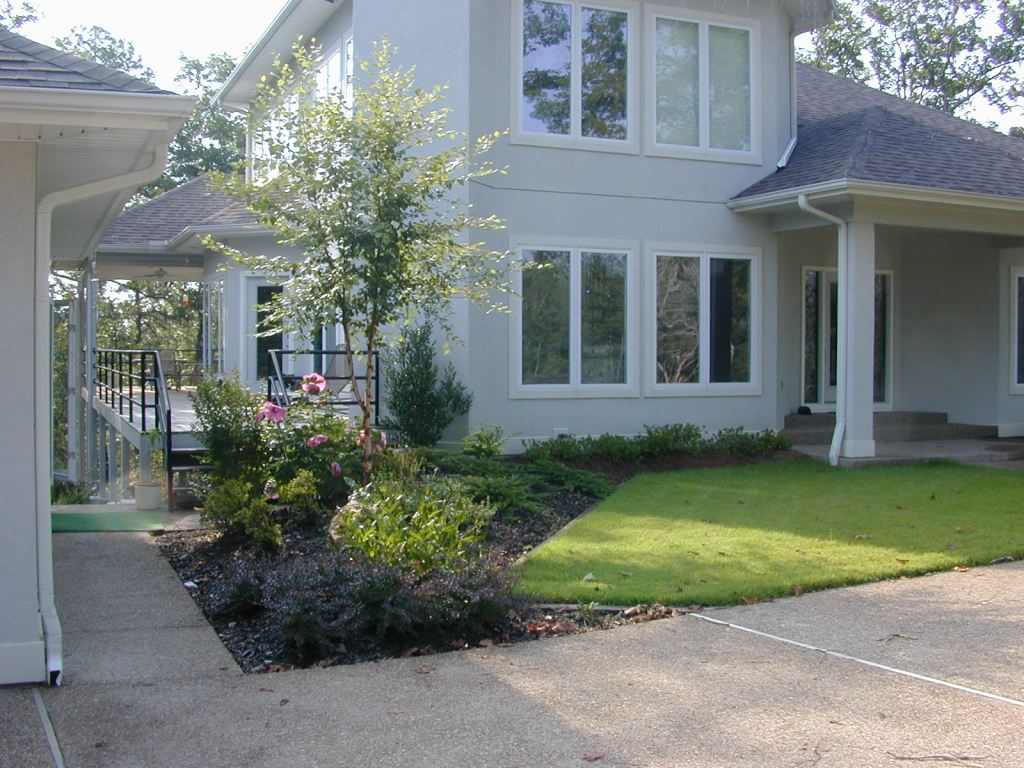
|
2002:
|
|
|
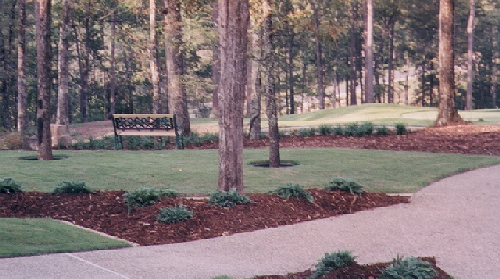
From the golf course: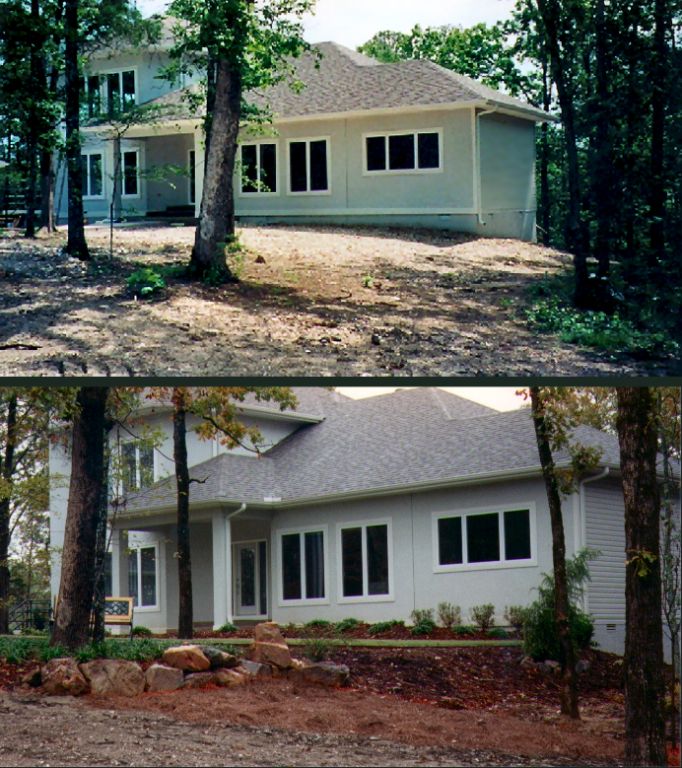
|
From the center: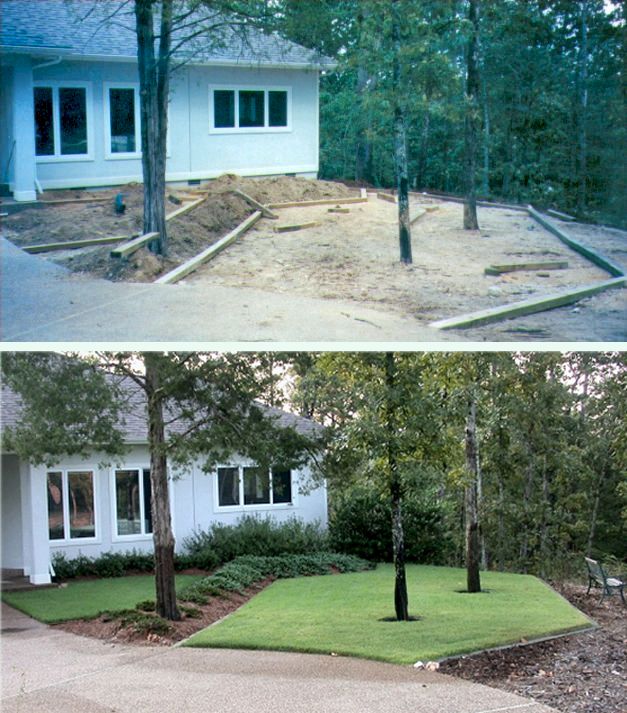
|