Inside Framing
Click on a picture for an enlargement.Click the larger picture to blow it up more.
|
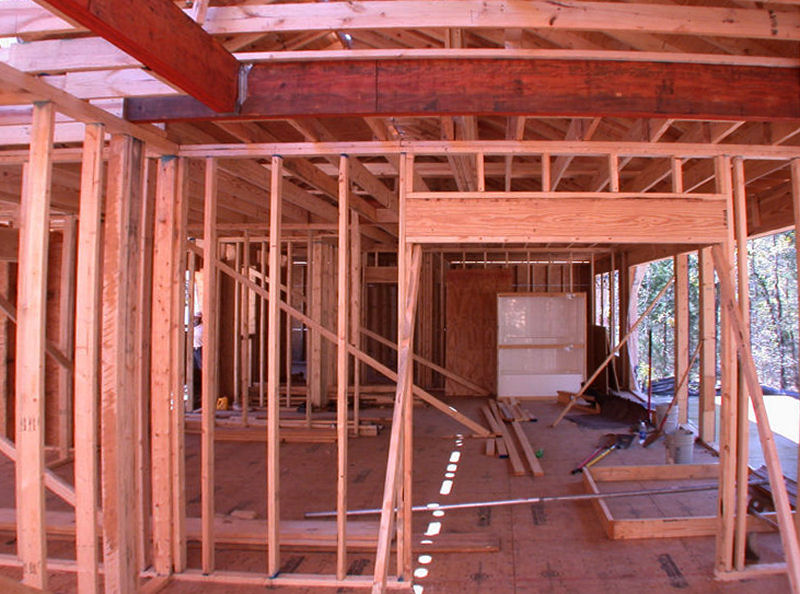
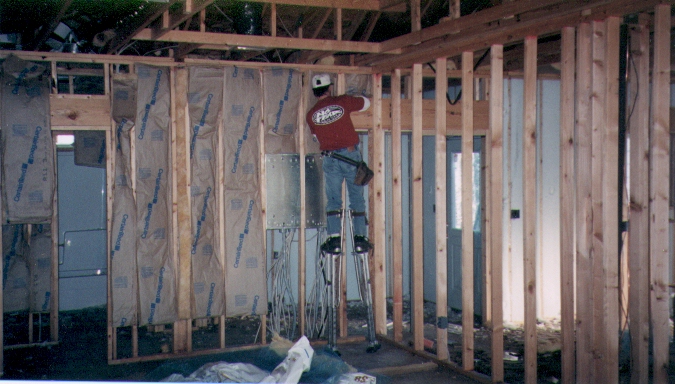
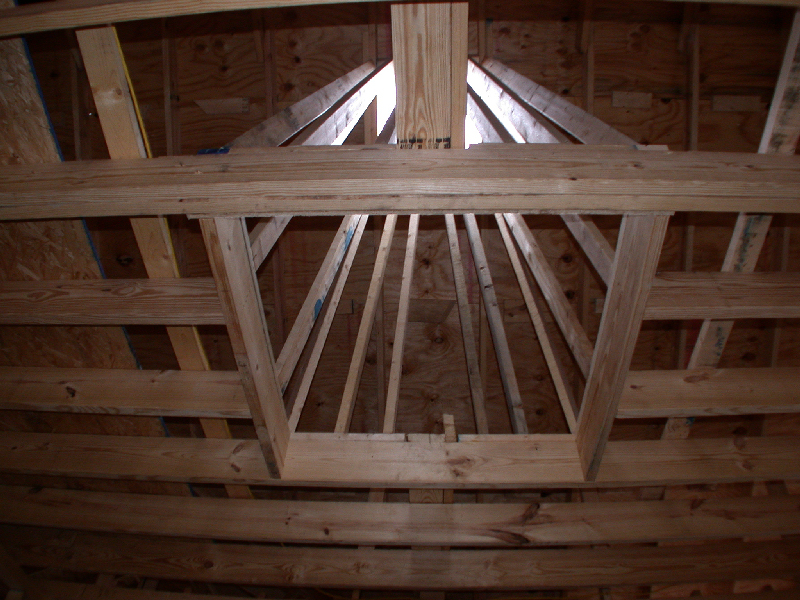
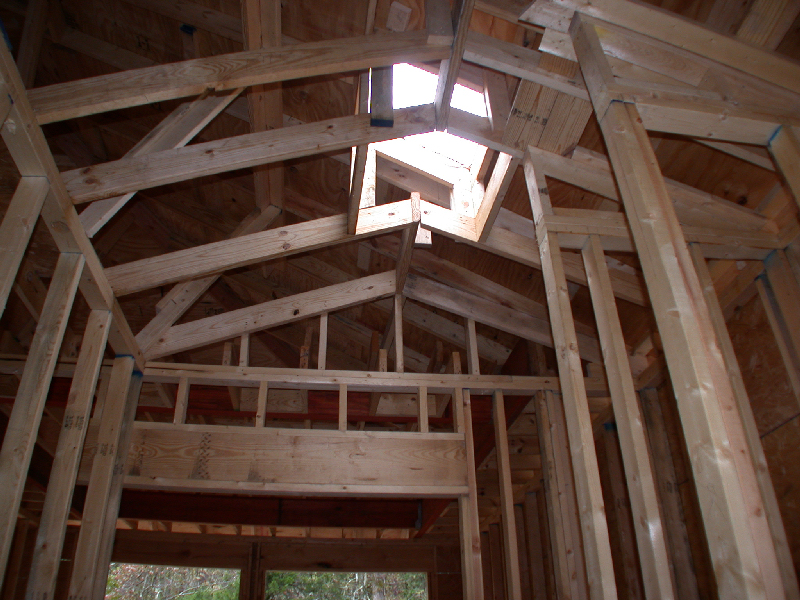
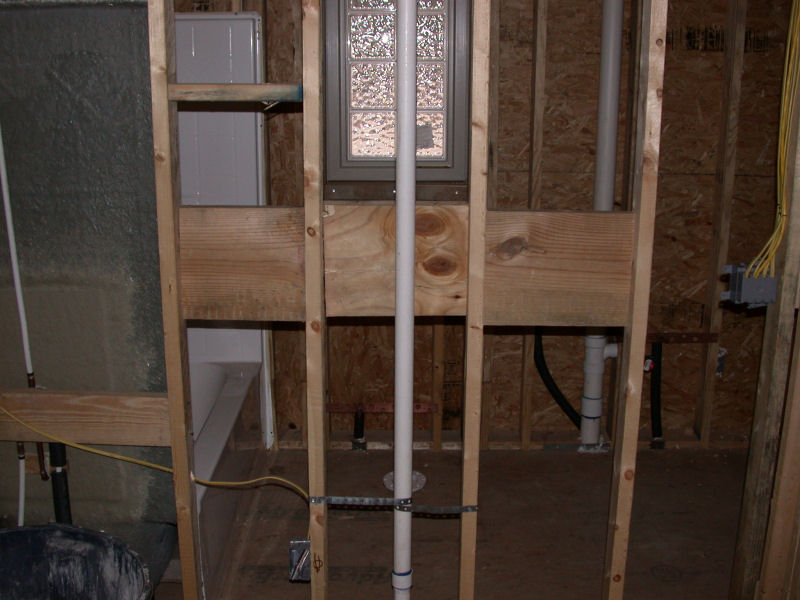
the 2x4 studs and 2x6 ceiling joists. Not only are they large, but they are doubled up. Now compare them to the joists used to frame a similar step-up ceiling (above the worker's head)
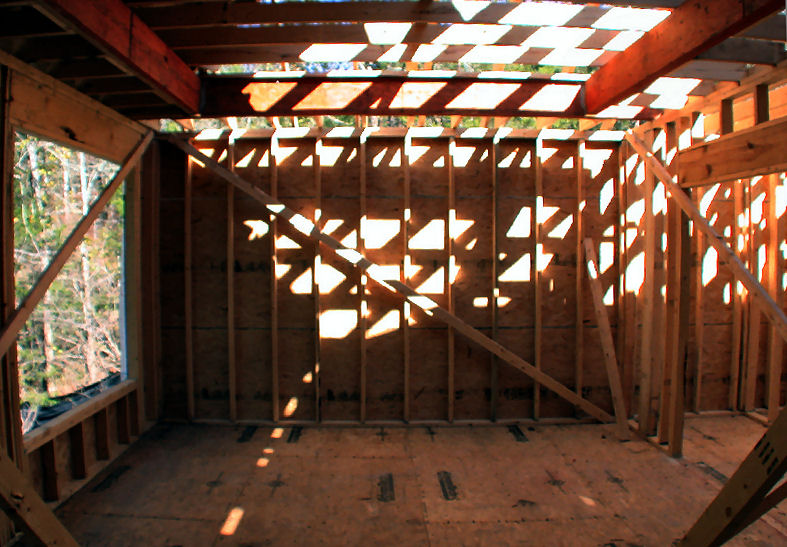
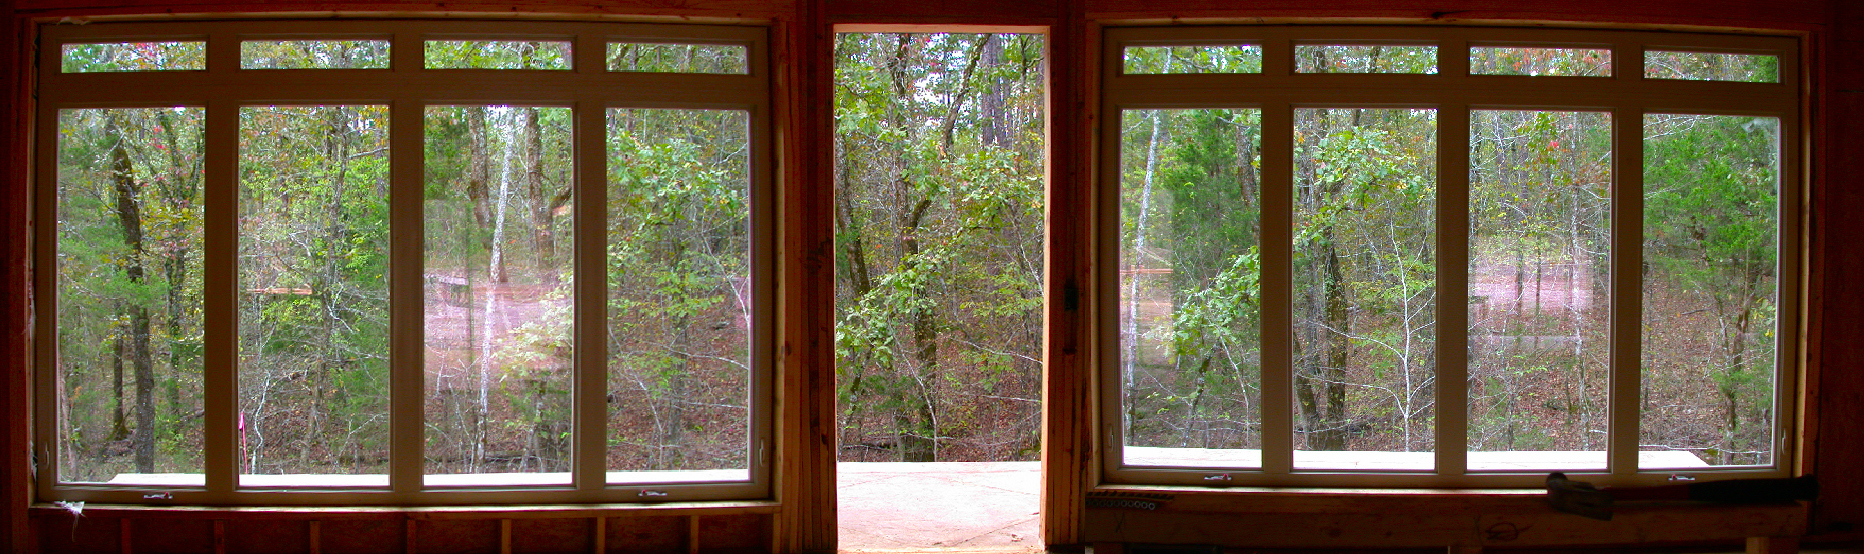
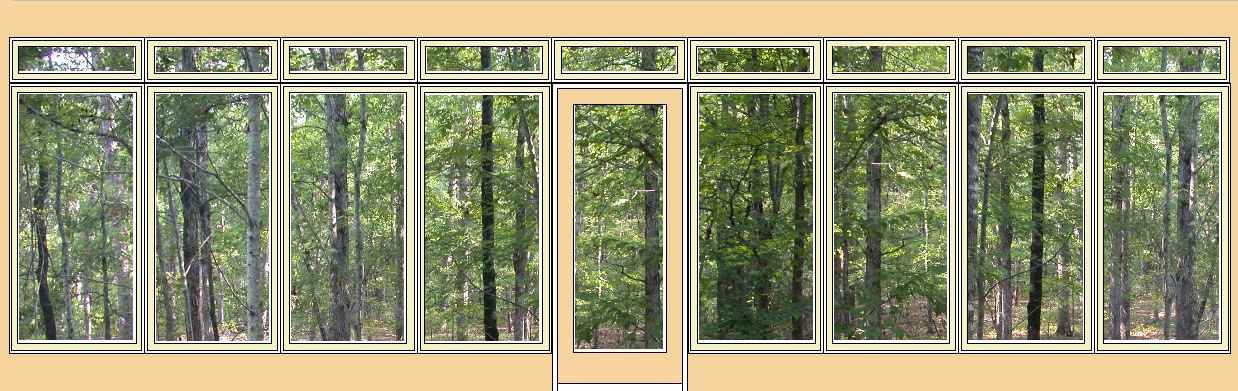
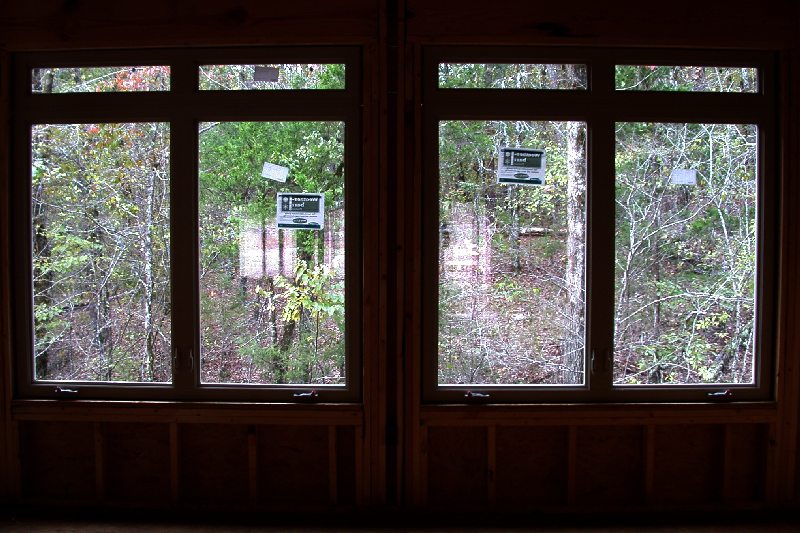
The windows above face due West, right into the afternoon sun. Ordinarily, this would be a bad thing for most of the year because of the heat and light coming in, but about 15' behind the house are a lot of tall tress which will block most of the sun during the warm months, but which will let heat into the house during the cold months when the trees lose their leaves. Without the trees, it would be better to find a lot where these windows would face North. If the windows faced South, you could have wider than normal eaves to block the Summer sun and let in the Winter sun. If you have a patio or deck out back, you could cover it to block the Western sun, but that will make the house darker all the time. In our house, we added tint to windows on the West side, which helps some. In Judy's house, we specified windows with Low-e and very low (.30-.32) heat gain (SHGC) and heat loss (U-factor) ratings. A low VT rating means that not as much light gets through because the windows have a tint built in (as opposed to applied in a sheet); we didn't specify low VT, but Buss apparently did because we can tell by looking that they have some tint to them, which will reduce glare. A low U-factor (heat-loss rating) is particularly important with a lot of windows because you will lose a lot of heat through them during the cold months. Window coverings help, but kind of defeat the purpose of having the big windows in the first place. While on the subject of the wall of windows -- something I didn't know to specify, but which Buss did, was to make the window-wall studs 2x6 rather than 2x4 like the rest of the house. The reason is that the windows do not provide any structural support. In addition to the 2x6s, a large header board runs the length of the 28-foot wall of windows, plus in the picture above, you can see that on either side of the door are FIVE 2x6 studs. The electrician actually had to carve out a space to put the light switches by the door. Folks, this is a SOLID house!
Click for:
|